
Stage 3: As I continue to build my colors up I am continually keeping my colors clean and transparent. I have found that reds are one of the hardest colors to keep transparent and vibrant. Painting with beautiful clean transparent colors is my biggest goal when laying down my glazes and washes. I am very particular about the manufacturer of my colors. I don't use just one company in particular. I have found that depending on the paint company the pigment qualities and transparencies can vary widely. I am a huge fan of Daniel Smith Watercolors. I have used them for over 30 years. You can't beat Daniel Smith's quality and transparency. Sennelier makes beautiful granulating pigments so I usually purchase my cerulean blues and ultramarine blues from them because of their beautiful granulation. If I have peaked your interest in my color information you can learn a lot more on my teaching DVD "Creating Vibrant Color" which can be purchased on my website under the "SHOP" button.

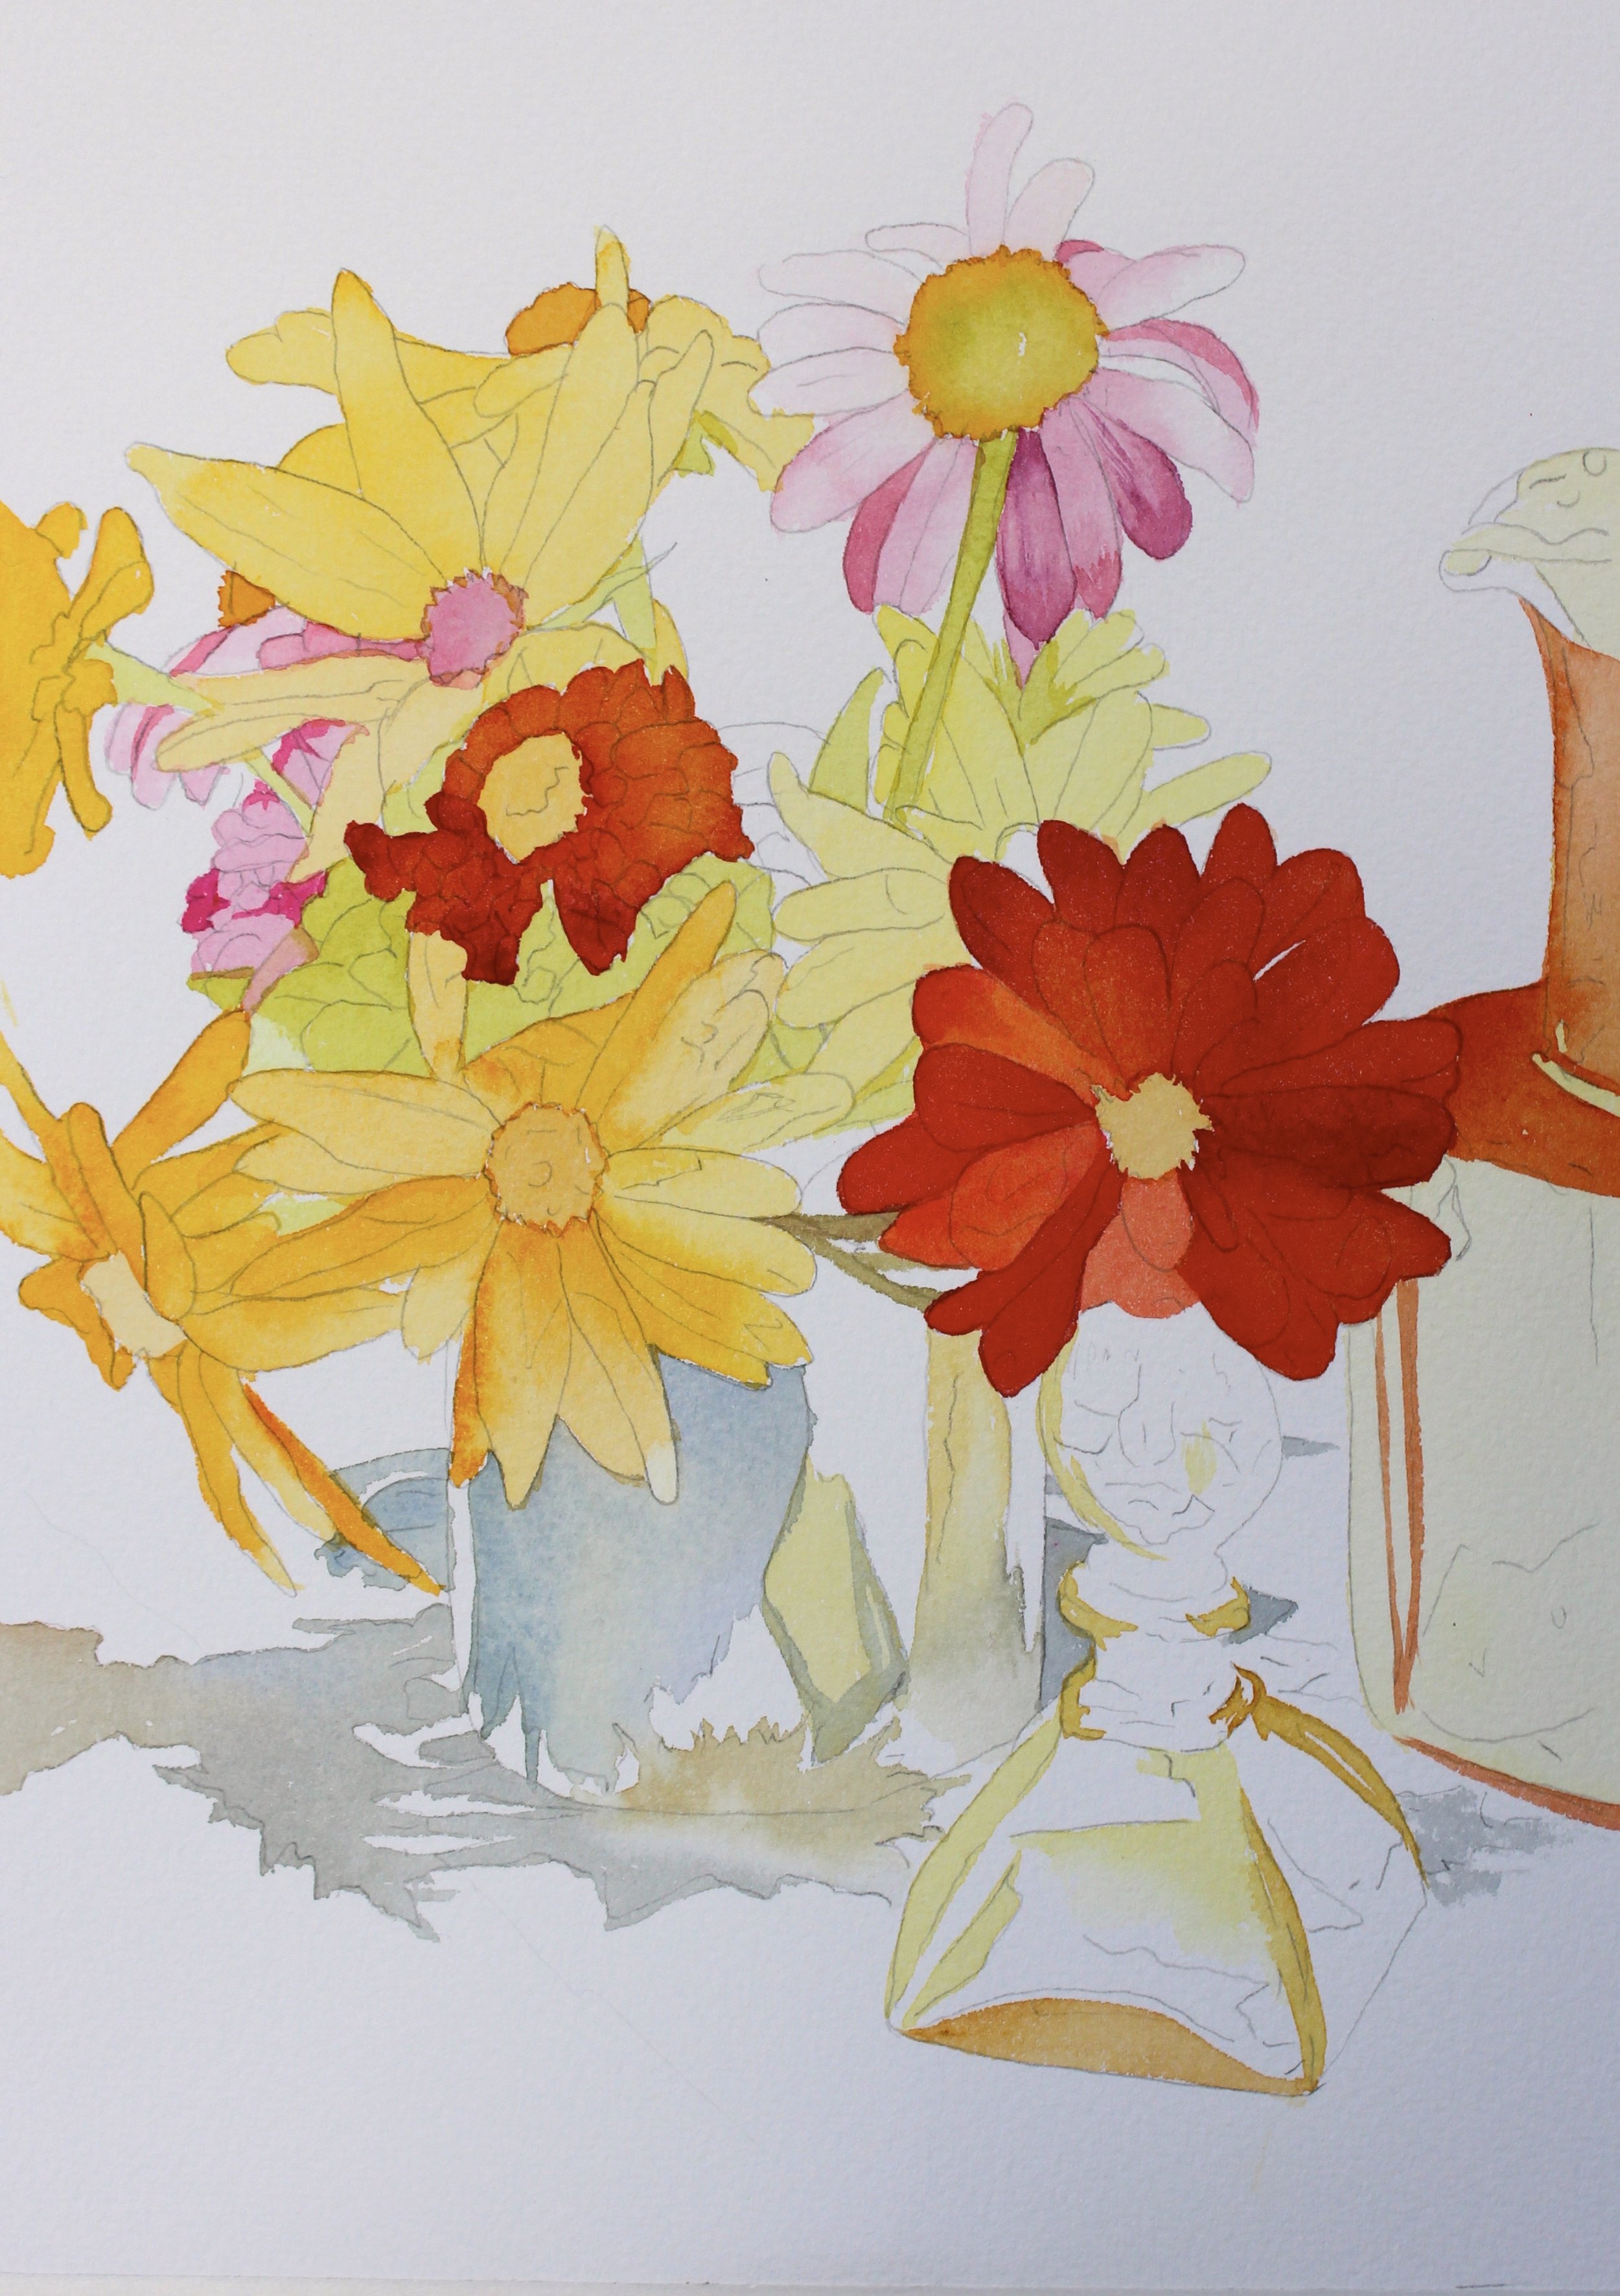
I am using a lot of Indian yellow and Quinacridone Gold for the warm yellows and the red is a beautiful warm red called Perelyne Scarlet by Daniel Smith with some Quinacridone Sienna.

As you can see in this image I have continued to darken the shadows dropping in more reflective color. I also used some salt in the faces of the cone flower and some of the Black-eyed Susan's. You need to drop the salt in while the pigments are still wet. Different salts will give your different textures.


A few more images of up-close details.

Here you can really see the salt crystals. Remember....once you have completed the painting.....remove all of the salt crystals before framing.
This is the last image that I have of this demonstration.....sadly to say sometimes I get caught up in the painting process and forget to stop and take photos......or the afternoon southern thunderstorms roll in and I can't step outside to photograph the piece....in this case we had several days of rain, rain and more rain and I just wanted to finish the painting. What can I say....Just shoot me!

You can see the completed image under Available Originals.
If you enjoyed this post please like and share on your favorite social media....also please pin on Pinterest. Thanks and stay tuned for the next lesson insight. Until then......keep those brushes wet!